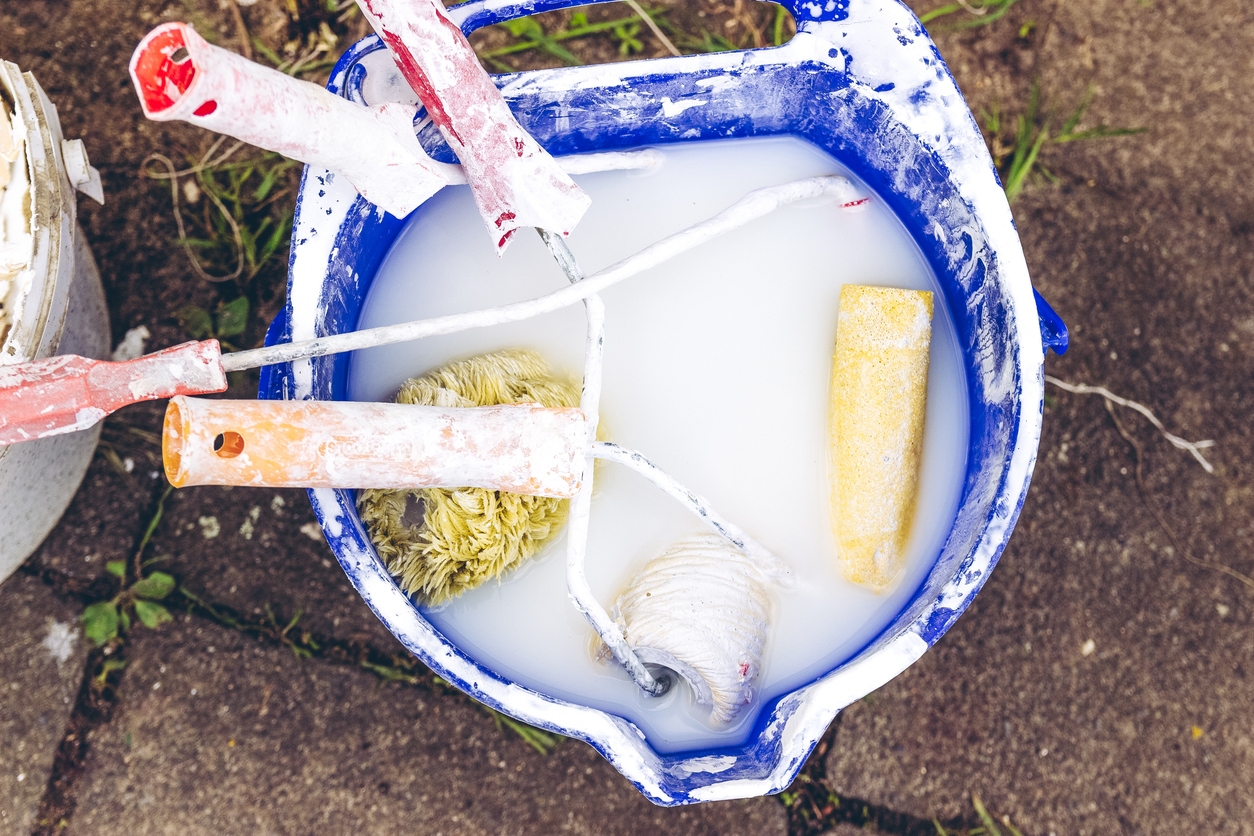
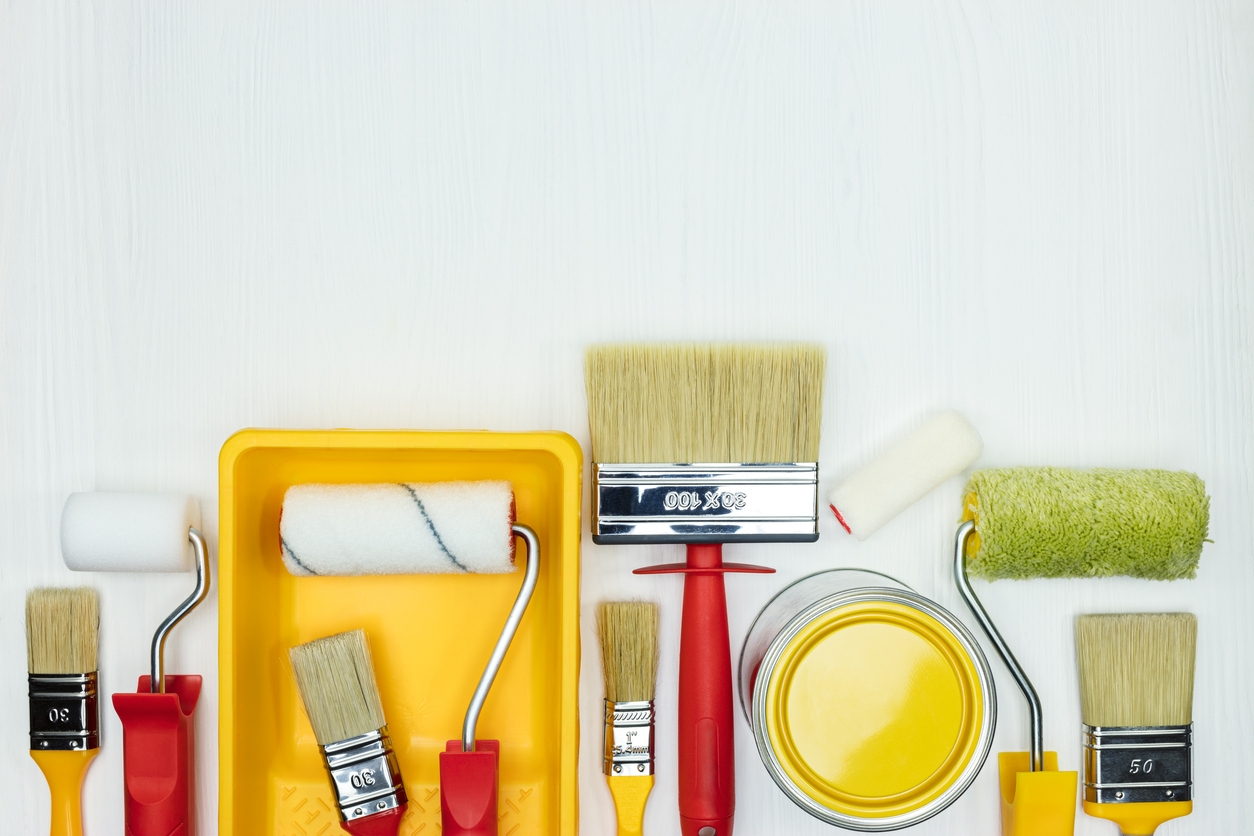
Your brushes and rollers should be cleaned after use to extend their usefulness. But did you know that not all used paints and rollers should be washed with water and soap? This article guides you on properly cleaning your brushes and rollers, depending on the type of paint you’ve used with them. This article also covers the correct storage of these tools for future use.
Maintaining high-quality painting tools, like brushes and rollers, is essential for achieving consistent, professional results. Proper cleaning and upkeep enhance these tools’ cost-effectiveness and sustainability, thus extending their lifespan.
Investing time in maintaining your brushes and rollers ensures better paint application in future projects, leading to smoother finishes and improved outcomes.
Why is proper cleaning essential?
Proper cleaning of brushes and rollers is essential for several reasons:
- Extending the life of your tools: Regular cleaning prevents paint from hardening on brushes and rollers, which can lead to bristle damage and loss of shape. A well-maintained tool will last longer, ensuring you get the most out of your investment.
- Saving money on supplies: Homeowners can avoid purchasing new ones frequently by reusing clean and well-maintained brushes and rollers. It can lead to significant savings over time, especially for larger painting projects.
- Better painting results: Clean tools contribute to a smoother paint application. Residue from previous paint jobs can cause streaks, uneven textures, or debris to mar the finish. Using clean brushes and rollers helps achieve a professional-quality result and enhances the overall look of your work.
Tools and materials needed for cleaning
Cleaning agents:
- Water-based paints: Use warm water and mild soap to clean brushes and rollers thoroughly.
- Oil-Based paints: Mineral spirits or paint thinner are necessary for removing paint from tools.
Buckets and containers:
- Have separate buckets for soaking brushes and rollers in the appropriate cleaning agent and for rinsing them.
Brush comb or wire brush:
- These tools help detangle and clean bristles thoroughly, ensuring no paint residue remains.
Old rags or paper towels:
- Use these to wipe off excess paint before washing and dry the tools afterward.
Gloves:
- Protect your hands from harsh chemicals, particularly when cleaning tools used with oil-based paints.
Having these tools on hand makes cleaning more efficient and helps maintain your brushes and rollers for future use.
Step-by-step guide to cleaning brushes
Step 1: Wipe off excess paint
Before washing, use a rag or paper towel to remove as much paint as possible from the brush.
Step 2: Rinse under warm water (for water-based paints)
Hold the brush under warm water. Use your fingers or a brush comb to work the paint out of the bristles gently.
Step 3: Use paint thinner or mineral spirits (for oil-based paints)
Swirl the brush in a jar of paint thinner, gently working out the paint. Rinse with a clean paint thinner until no paint remains.
Step 4: Clean the handle and ferrule
Wipe down the brush handle and ferrule (the metal part) to remove paint splatters and residue.
Step 5: Reshape and dry the brush
After rinsing thoroughly, reshape the bristles and hang the brush to dry with the bristles pointing down. Doing so prevents water from collecting in the ferrule.
Step-by-step guide to cleaning rollers
Step 1: Remove excess paint
Use a putty knife or roller scraper to scrape off any remaining paint from the roller carefully. This will help reduce the amount of paint you need to rinse away.
Step 2: Rinse under warm water or use paint thinner
- For water-based paints: Rinse the roller under warm water, using your hands to massage the fabric and dislodge the paint.
- For oil-based paints: Soak the roller in a container of paint thinner to dissolve the paint.
Step 3: Wash thoroughly
Squeeze out the paint and rinse the roller. Repeat the rinsing process until the water runs clear for water-based paints or no paint remains in the paint thinner for oil-based paints.
Step 4: Dry the roller
Spin the roller in a dry area or use a clean towel to absorb excess moisture. Allow the roller to air-dry completely before storing it to prevent mildew or damage.
Drying and storing brushes and rollers for future use
When drying and storing brushes and rollers for future use, follow these tips:
- Proper drying technique: After cleaning, hang brushes with bristles facing down and stand rollers on end. Doing so allows water to drain out and prevents bristles from deforming.
- Avoid damage during storage: Store brushes in their original packaging or use a brush holder to maintain their shape. For rollers, use a storage container that keeps them upright.
- Preventing mold or mildew: Ensure all tools are completely dry before storage. Store them in a cool, dry place to minimize moisture buildup, which can lead to mold or mildew growth.
Common mistakes to avoid
Here’s an overview of common mistakes to avoid when cleaning and storing brushes and rollers:
- Neglecting immediate cleaning: It’s crucial to clean brushes and rollers right after use. Allowing paint to dry on the tools makes cleaning them significantly harder and can lead to permanent damage. Dried paint can harden the bristles, making them ineffective for future use.
- Using the wrong cleaning agents: Always use the appropriate cleaning agents for the type of paint used. For oil-based paints, solvents like mineral spirits are necessary, while water and soap work for latex paints. Using water on oil-based paints can ruin brushes and rollers, causing bristles to become stiff and clumped.
- Storing tools while wet: Never store brushes and rollers while still wet. It can lead to mold and mildew growth, as well as misshapen bristles. Instead, ensure they are thoroughly cleaned and dried before storing them flat or hanging to maintain their shape.
Avoiding these mistakes enables you to extend the life of your painting tools and ensure they perform well for your next project.
When to replace brushes and rollers
There comes a time when your paint application tools are past their useful life. Here’s how to tell when to replace them:
Signs of wear and tear
Brushes and rollers should need replacement when they show clear signs of wear. For brushes, look for frayed bristles or an uneven shape that can affect the application. A roller’s nap (the fuzzy surface) should also be inspected; if worn down, it won’t hold paint effectively, leading to uneven coverage.
If brushes or rollers also become permanently stiff, they can no longer provide a smooth finish and should be retired.
Impact on painting results
Using worn-out tools can severely impact the quality of your paint job. Frayed brushes can leave streaks and uneven texture, while worn rollers may cause splatter and poor coverage. This can lead to additional coats and more time spent correcting mistakes. Knowing when to retire tools is crucial for achieving a professional finish.
Cost vs. quality
While it can be tempting to use brushes and rollers until they’re completely worn out, investing in high-quality tools pays off in the long run. Quality brushes and rollers provide better results and can be more durable if properly maintained.
Regular cleaning and careful storage can significantly extend their lifespan, making it more cost-effective than frequently replacing lower-quality tools. Ultimately, the right tools can save time and improve the overall outcome of your painting projects.
How a professional painting company maintains its tools
Consistent tool care for top-performance
Regular maintenance of painting tools is essential for achieving flawless finishes. Proper care ensures that brushes, rollers, sprayers, and other equipment perform at their best, resulting in smooth application and minimal imperfections. A professional painting company invests time in maintaining their tools, as this directly impacts the quality of their work.
Professional-grade cleaning methods
Residential painting companies employ specific cleaning techniques to keep tools in prime condition. It often involves rinsing brushes and rollers immediately after use to prevent paint from hardening, using solvent-based cleaners for oil-based paints, and ensuring sprayers are thoroughly flushed to avoid clogging. Regular inspections and minor repairs extend the life of the tools, ensuring they remain effective for each project.
Benefits to clients
Well-maintained tools benefit clients significantly. Properly cared-for equipment leads to smoother, faster application, reducing labor time and minimizing disruptions. It enhances the paint job’s quality and ensures a more professional appearance, potentially increasing homeowner satisfaction and boosting property value.
Maintaining these tools is crucial for delivering high-quality results in residential painting projects.
Conclusion
Cleaning brushes and rollers ensure their reusability, saving on replacement costs and maintaining the quality of future paint jobs. Taking the time to care for these tools allows homeowners to achieve better, long-lasting results in their painting projects. Correct maintenance leads to smoother finishes and more professional outcomes.
For those looking to ensure every part of the painting process, including tool care, is handled expertly, don’t hesitate to contact our team from Custom Painting, Inc. You can reach us at 510-795-0903 or through our contact form to request a free consultation and estimate. We use our years of experience, skill, and attention to detail to deliver a flawless and hassle-free experience.


