
Painting tall walls is indeed a tall order, both figuratively and literally. The higher the walls, the more challenging it is to achieve an even and consistent coating, not to mention the added risk of falling. The best commercial painters have the experience, follow the appropriate measures, and use the right equipment to paint high walls safely and successfully.
Many commercial properties are tall structures requiring specific equipment to paint the higher walls. Obviously, painting high walls is not a job to rush, as safety and the right tools are paramount.
Steps in Painting High Walls
1. Prepare the equipment and tools.
When painting high walls, you’ll need the usual tools and materials, but you’ll also need these important tools: ladders, scaffolding, and some cutting-in tools.
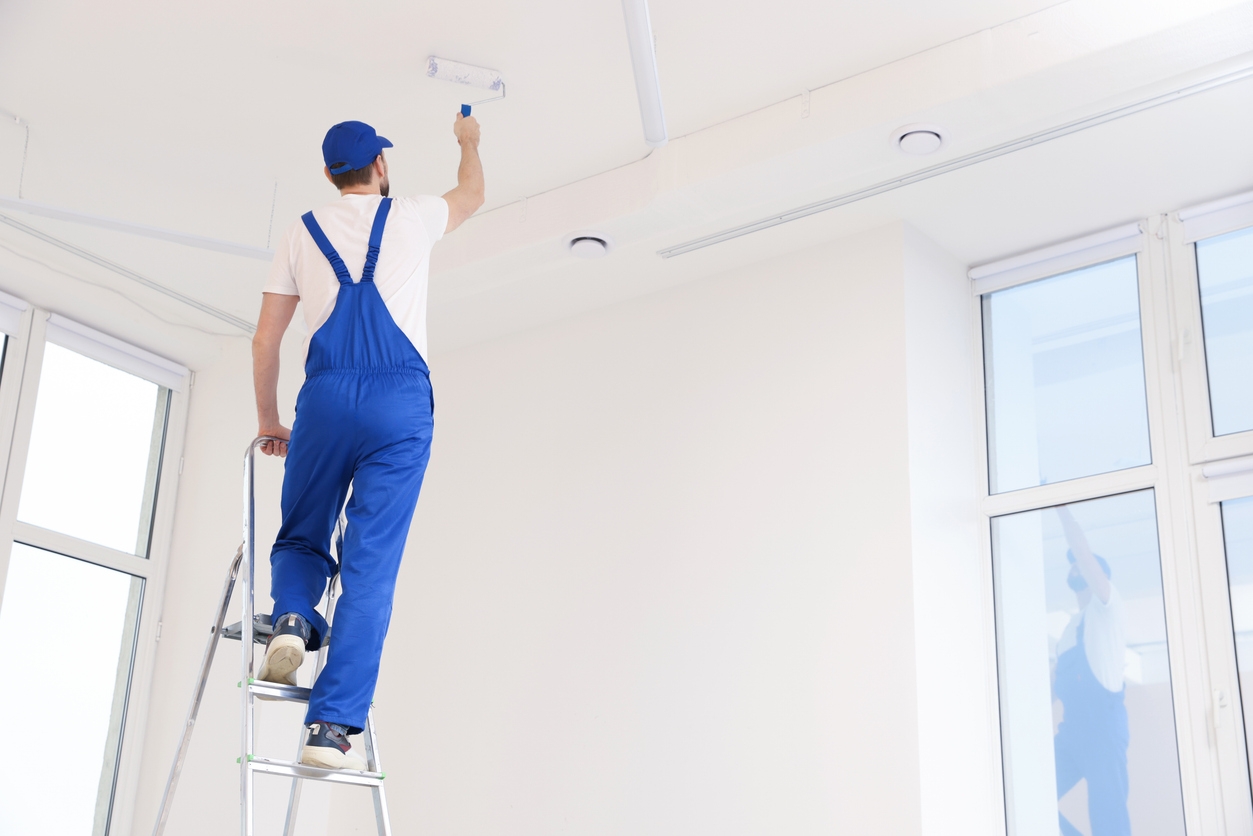
Ladders and scaffolding
When it comes to painting tall walls, choosing the right ladder or scaffolding is crucial. The height of your walls will determine the type of equipment you need. For moderately high walls, a sturdy, extendable ladder might suffice. Ensure the ladder is stable and placed on a level surface before climbing. Always follow the manufacturer’s guidelines for safely setting up and using the ladder.
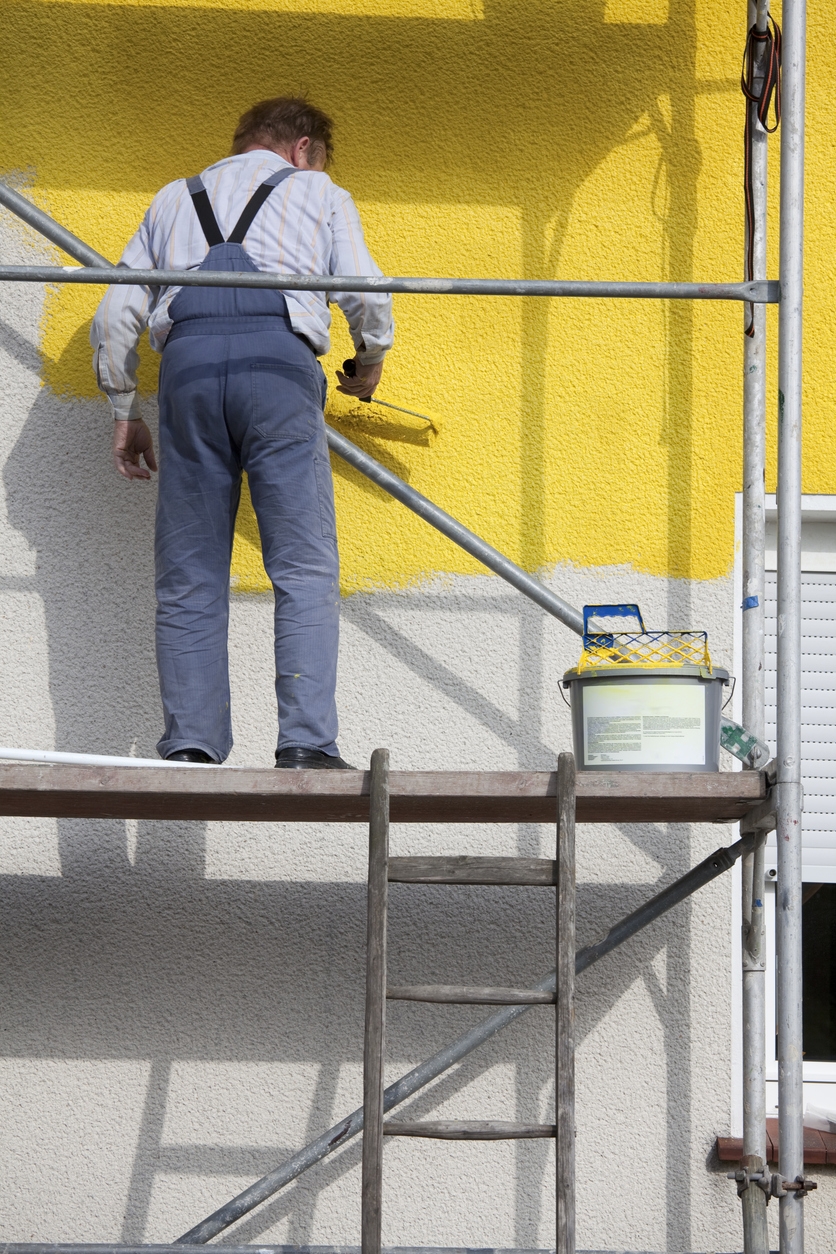
For taller walls, use scaffolding to reach the entire surface. Scaffolding provides a larger and more stable work surface, which can make the job safer and more efficient. Make sure the scaffolding is properly assembled and secure before using it. Check all parts for stability and ensure safety locks and guardrails are in place. This will help prevent accidents and make moving around as you work easier.
Cutting-in tools
Painting the edges where the walls meet the ceiling, known as cutting in, is one of the trickiest parts of painting tall walls. This task requires precision to ensure a neat and professional finish. Cutting in involves painting the three corners where two walls and a ceiling meet, and it should be one of the first steps in your painting process.
A high-quality paintbrush is the most appropriate tool for cutting in. A good brush will help you apply paint smoothly and evenly, ensuring complete saturation of the color. To achieve a crisp and even edge, apply painter’s tape along the ceiling line before you start painting. This will help you create a clean separation between the wall and ceiling colors.
Using an angled brush can also make this task easier. The angle helps you get closer to the ceiling without accidentally painting over it. Take your time with this step to ensure precision and avoid any mess. Proper cutting will set the foundation for the rest of your painting job, making the final result look more professional and polished.
2. Prepare the site.
Before you start painting, it’s crucial to prepare the area properly. Start by clearing the space of any furniture, decor, and other items that might get in the way or risk being splattered with paint. Move everything to a different room or cover them with plastic sheets. This will protect your belongings and give you more room to work safely.
Next, cover the floors with drop cloths or plastic sheeting. Secure the coverings with painter’s tape to ensure they stay in place. This step is essential to protect your flooring from accidental paint spills and splatters. Make sure the area is well-ventilated and well-lit, as good visibility and fresh air will help you work more efficiently and safely.
3. Clean the walls.
Once the area is prepped, it’s time to clean the walls. Dust, dirt, and grease can prevent paint from adhering properly, so it’s important to start with a clean surface. Use a damp cloth or a vacuum with a brush attachment to remove any loose dust and cobwebs from the walls. Pay extra attention to corners and edges where dust tends to accumulate.
For more stubborn grime, especially in kitchens or bathrooms where walls can get greasy, use a mild detergent solution. Mix a small amount of detergent with water and gently scrub the walls using a sponge or soft cloth. Rinse the walls with clean water to remove any soap residue, and let them dry completely before you begin painting. This step ensures that your paint job will be smooth and long-lasting.
4. Prime the walls.
Priming is a crucial step that sets the foundation for a successful paint job. It helps the paint adhere better to the surface, ensuring an even and long-lasting finish. Applying primer is especially important for tall walls as it can help cover any imperfections and provide a smooth base for the paint.
Start by selecting a high-quality primer suitable for your wall type. Apply the primer using a roller for large areas and a brush for edges and corners. Make sure to cover the entire surface evenly, and let the primer dry completely before moving on to painting. This step might seem time-consuming, but it will make a significant difference in the final appearance of your walls.
5. Start painting.
Once the primer is dry, it’s time to start painting. Using the right techniques will help you achieve a professional-looking finish. Begin by painting the edges and corners with a brush, a process known as “cutting in.” This ensures you get paint into all the nooks and crannies a roller might miss.
After cutting in, use a roller to paint the larger wall areas. For tall walls, consider using an extension pole to help you reach higher sections without needing to constantly move your ladder or scaffolding. Apply the paint in even, consistent strokes, and avoid overloading your roller to prevent drips and streaks.
It’s usually best to apply multiple thin coats of paint rather than one thick coat. This approach helps achieve a smoother and more even finish. Allow each coat to dry completely before applying the next one. This might take a bit more time, but it ensures that the paint adheres properly and doesn’t peel or crack over time.
Use extension poles and specialized tools to make the job easier for hard-to-reach areas. An extension pole attached to your roller will help you reach higher sections without constantly repositioning your ladder or scaffolding. Consider using a paint sprayer for very large, tall walls. This tool can save time and provide a smooth, even coat.
Safety Guidelines
Safety should always be your top priority when painting tall walls. Here’s what you need to keep in mind when it comes to safety:
Wear personal protective equipment (PPE).
Personal protective equipment (PPE) is essential to keep you safe from potential hazards. Start with a good pair of gloves to protect your hands from paint and any harmful chemicals in the paint or cleaning solutions. Gloves also provide a better grip on your tools.
Wearing a mask is crucial, especially when paints emit strong fumes. A mask will help you avoid inhaling any harmful substances. Goggles are another must-have item. They protect your eyes from paint splatters and dust, ensuring you can see clearly and avoid accidents.
Always keep safe when using a ladder.
Ladders are indispensable for painting tall walls, but they can also be dangerous if not used properly. Always make sure your ladder is stable and placed on a flat, level surface. Before you start climbing, double-check that all the locks and braces are securely in place.
When using a ladder, maintain three points of contact at all times—two hands and one foot or two feet and one hand. This ensures stability and reduces the risk of falling. Avoid overreaching while on the ladder; instead, climb down and reposition the ladder as needed. This might take longer, but it’s far safer than stretching beyond your reach.
Set up scaffolding firmly.
For extremely tall walls, scaffolding can be a safer alternative to ladders. Scaffolding provides a wider, more stable platform to work from, allowing you to move around more freely. When setting up scaffolding, ensure it is properly assembled according to the manufacturer’s instructions. Secure all parts firmly and double-check for stability.
Use guardrails and safety harnesses when working on scaffolding to prevent falls. Guardrails provide a physical barrier that keeps you within the platform’s safe area, while a safety harness offers additional protection. Always keep your workspace organized and clutter-free to avoid tripping over tools or supplies.
Conclusion
Painting tall walls is no easy feat, but with the right preparation, tools, and techniques, it’s definitely achievable. However, it’s always best to leave the task of painting high walls to professionals. Custom Painting, Inc. has the experience, expertise, and equipment to handle the challenges of painting tall walls safely and efficiently. Don’t risk accidents or a subpar finish—let the experts at Custom Painting, Inc. take care of it for you. Contact them today at 510-795-0903 or message us to get started on your project!