For the DIY painter, it’s tempting to crack open a can of paint and start applying it to the walls. We get it—the bare walls are practically begging for some color, and your excitement is high. After all, the walls look clean and ready, so what could go wrong? Well, actually, a lot.
Professional painters in East Bay know the secret to a perfect paint finish is thorough prep work. This involves cleaning, repairing, smoothing, and priming the surfaces before painting. A successful paint job is not determined by the paint itself but by the meticulous surface preparation that ensures a successful and long-lasting paint job.
Why Prep Work Matters
Surface preparation is the foundation of any successful paint job. It involves several crucial steps that ensure the paint adheres well and looks great for years. Skipping any of them can lead to a paint job that peels, chips, or looks uneven. Proper prep work might make extra time and effort, but it’s a worthwhile investment for a professional, long-lasting finish.
Consequences of Inadequate Prep Work
While going straight to the painting part may save you time and money, think about the consequences of inadequate prep work – or the absence of it altogether.
Poor Paint Adhesion
Imagine spending hours painting a wall, only to see the paint start peeling off within weeks. This happens when the surface isn’t prepared correctly. Dirt, grease, or old paint layers prevent the new paint from sticking properly. Visualize a piece of tape on a dusty surface—it just won’t hold.
It’s important to give the walls – especially the exteriors – a solid and thorough cleaning first. Even if the walls look superficially clean, you will be surprised what comes off after a simple wiping with a clean rag or with the help of a power washer.
However, power washing is no match for wiping and scrubbing, which better zero in on dirty surfaces. You can also use both methods. After cleaning and rinsing the walls, leave them to dry before proceeding to the next step.
Structural Damage
Skipping prep work can lead to more than just cosmetic issues. Prep work also allows you to inspect the surfaces for any damage. Unaddressed cracks or holes can worsen over time, leading to structural damage. Think of a small crack in your windshield that eventually spreads, causing the whole thing to break.
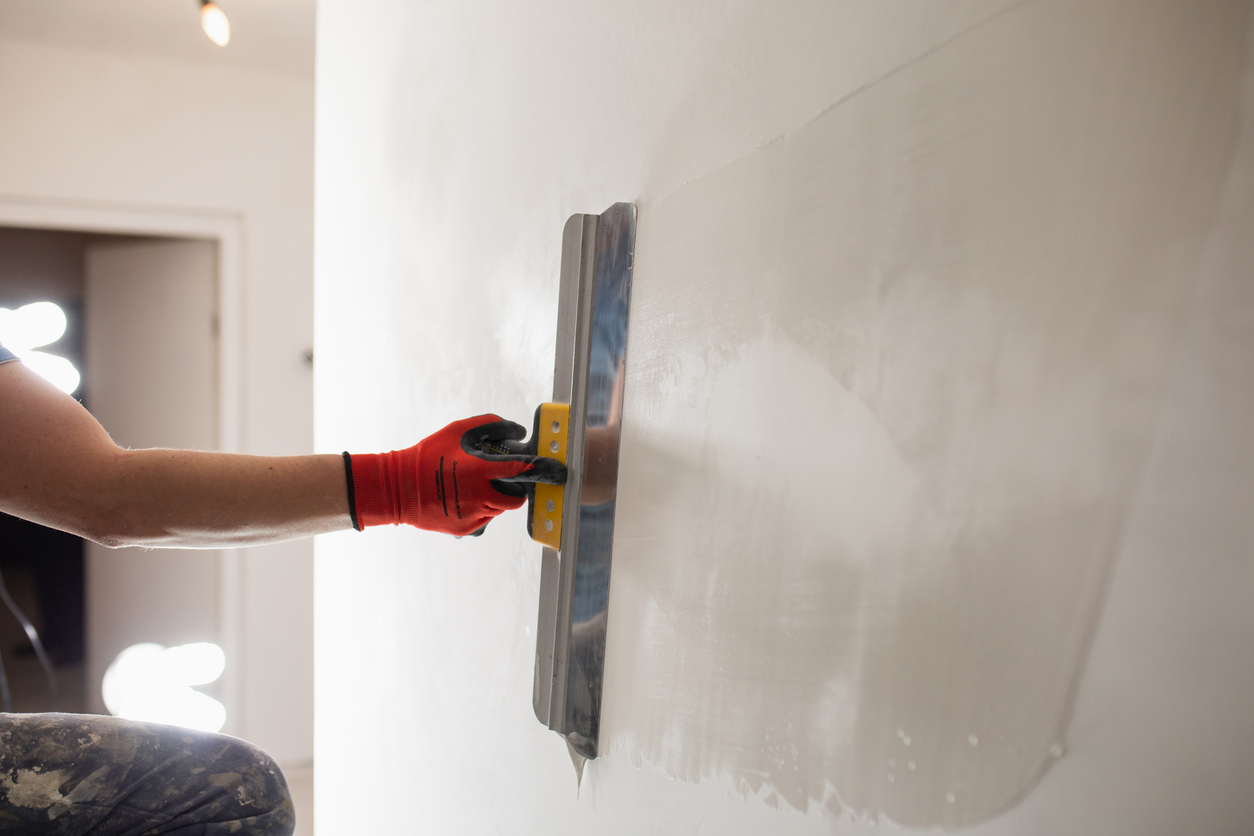
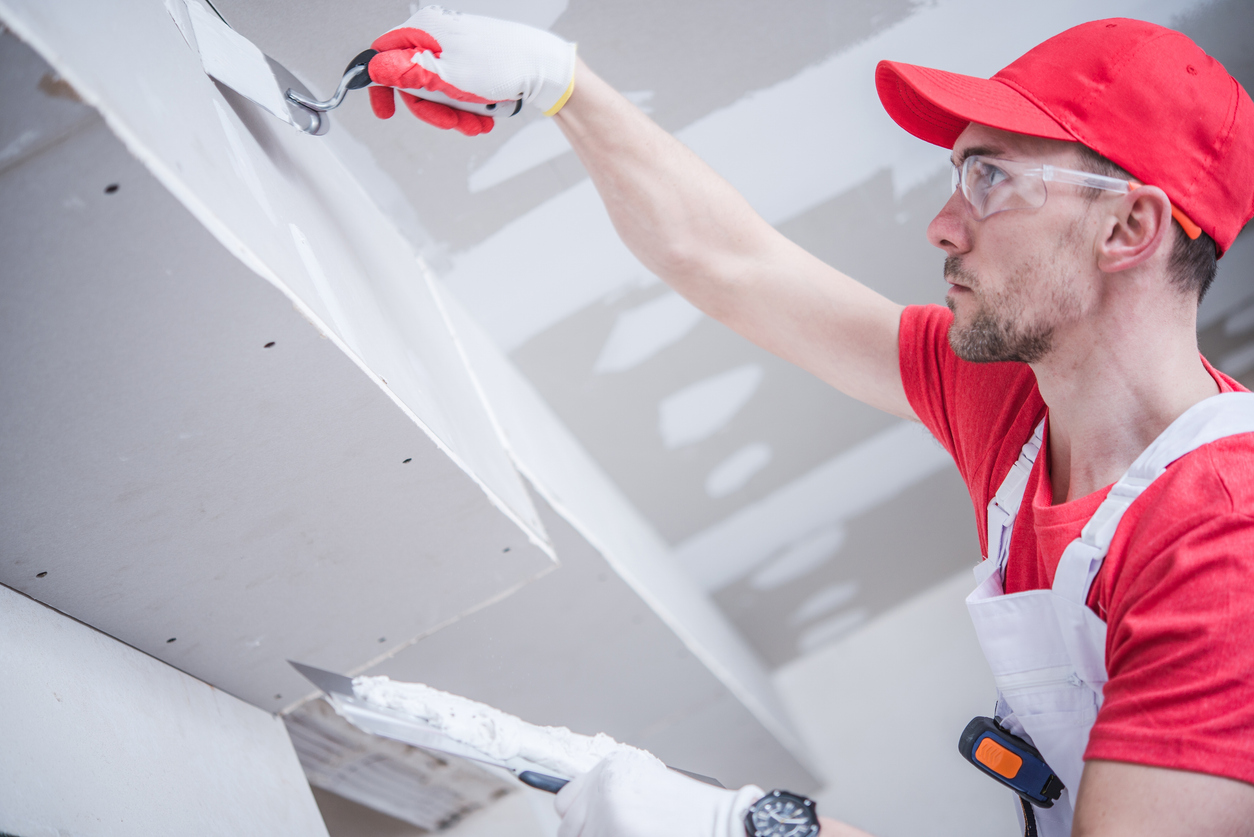
If some areas have cracks, holes, and dents, fill them with spackle, let it dry, and sand off the excess. You also want to start with a smooth base, and the new topcoat won’t stick well to a wall that has holes, cracks, dents, and bumps. This will result in uneven paint.
Interference from Old Paint
It’s not always necessary to remove old paint entirely if it still looks good on the surface. But if the surface is flaking, peeling, cracking, or chipping, you must remove the loose old paint if you want to start with a smooth base. This is especially true when you paint older commercial buildings with surfaces that may have several layers of old paint.
If you don’t remove old paint, it can cause bumps and uneven textures. It’s like painting over an old, peeling sticker—the new paint won’t lay flat, creating an unsightly finish. Stripping and sanding ensure a smooth surface.
Patchy appearance due to lack of primer
Primer acts like a base coat, helping the paint adhere better and look smoother. Skipping this step can result in a patchy appearance. It’s like baking a cake without greasing the pan—things just won’t turn out right.
Primer also masks surface imperfections, making the topcoat look more uniform and last longer. Those knots in bare wood? The smoke and water stains on the old walls? Without priming, these ugly marks will show through the new paint. Also, primer is essential if you want to make a dramatic change in your paint color, like switching from dark to light.
Poor Aesthetics
Poor prep work can ruin the final look of your paint job. Skipping wall preparation will cause unsightly results, such as uneven surfaces, cracks, and bumps that show through. It will make the paint look shabby and unprofessional. Proper prep ensures a smooth, polished finish.
More Expenses
Skipping prep work might initially save time and money, but it leads to frequent repainting and repairs, which cost more in the long run.
If you skip prep, your paint job will deteriorate quicker, leading to a much-needed repainting sooner than expected. Investing in thorough prep saves money over time by extending the life of your paint job.
Best Practices for Surface Preparation
- Cleaning: Begin by cleaning the surface thoroughly. This means removing all dirt, grease, and any remnants of old paint. Use a clean rag for smaller areas or a power washer for larger exterior surfaces. Don’t be fooled by appearances—walls that look clean can still harbor dust and grime. For stubborn spots, a mild detergent can be very effective. After cleaning, make sure the surface is completely dry before moving on to the next step.
- Repairing: Next, inspect the surface for any cracks, holes, or dents. These imperfections must be addressed to prevent future structural damage and ensure a smooth paint application. Use spackle or a similar filler to patch up these areas. Allow the filler to dry completely, then sand it down until it’s flush with the surrounding surface. This step is crucial for creating a solid, even foundation for your paint.
- Sanding: Sanding the surface is essential for removing any remaining imperfections and ensuring better paint adhesion. Use sandpaper or sanding blocks to smooth out rough areas. This step also helps to slightly roughen glossy surfaces, which can otherwise prevent paint from sticking properly. Make sure to clean away any dust created by sanding before you proceed to priming.
- Priming: Applying a primer is a key step that shouldn’t be skipped. Primer seals the surface, blocks stains, and provides a uniform base for your paint. It also enhances paint adhesion, which helps the final coat look smoother and last longer. For best results, choose a primer that’s suitable for the specific type of surface you’re working on, whether it’s wood, drywall, or masonry.
Recommended Tools and Materials for Preparation
- Cleaning supplies: Rags, power washer, mild detergent.
- Repair materials: Spackle or filler, putty knife.
- Sanding tools: Sandpaper (various grits), sanding blocks.
- Priming tools: Primer is suitable for your surface and high-quality paint brushes or rollers.
Tips from Professional Painters
- Test Small Areas: Before starting a large project, always test a small, inconspicuous area first. This helps you see how the surface reacts to cleaning and repairs and how well the paint will adhere.
- Use Quality Materials: Investing in high-quality tools and materials can significantly affect the outcome of your project. Cheap materials may save money upfront but can lead to issues down the line.
- Give Enough Drying Time: Be patient and allow sufficient drying time between each step. Rushing through the process can lead to problems like trapped moisture, which can cause paint to peel or bubble.
- Wear Protective Gear: Remember safety. Wear gloves, masks, and eye protection as needed, especially when working with cleaning agents, fillers, or sanding dust.
- Check the Weather: If you’re working outdoors, pay attention to the weather. Avoid painting in extremely hot, cold, or humid conditions, as these can affect drying times and paint adhesion.
Conclusion
Proper prep work is essential for a successful and durable paint job. Skipping steps like cleaning, repairing, sanding, and priming can lead to poor adhesion, structural damage, and a subpar finish. By investing time in preparation, you ensure a smooth, beautiful result that lasts.
For the best results, consider hiring professional painters. They have the expertise and tools to do the job right, from preparation to cleanup, saving you time and future repair costs.
If you don’t want to bother with the prep work, that’s no problem – Custom Painting, Inc. can do the work for you. Contact us today at 510-795-0903 or fill out our contact form for professional painting services that guarantee satisfaction!


